Zenovay makes it easy to collaborate with your team on analytics. Invite colleagues, assign roles, and work together to understand your website performance.
Team Member Limits
Every plan can invite Admins, Editors, and Viewers. What changes between plans is how many members your workspace can hold:
| Plan | Team Members |
|---|---|
| Free | 2 |
| Pro | 5 |
| Scale | 25 |
| Enterprise | Unlimited |
The four roles (Owner, Admin, Editor, Viewer) are the same on every plan.
Inviting Team Members
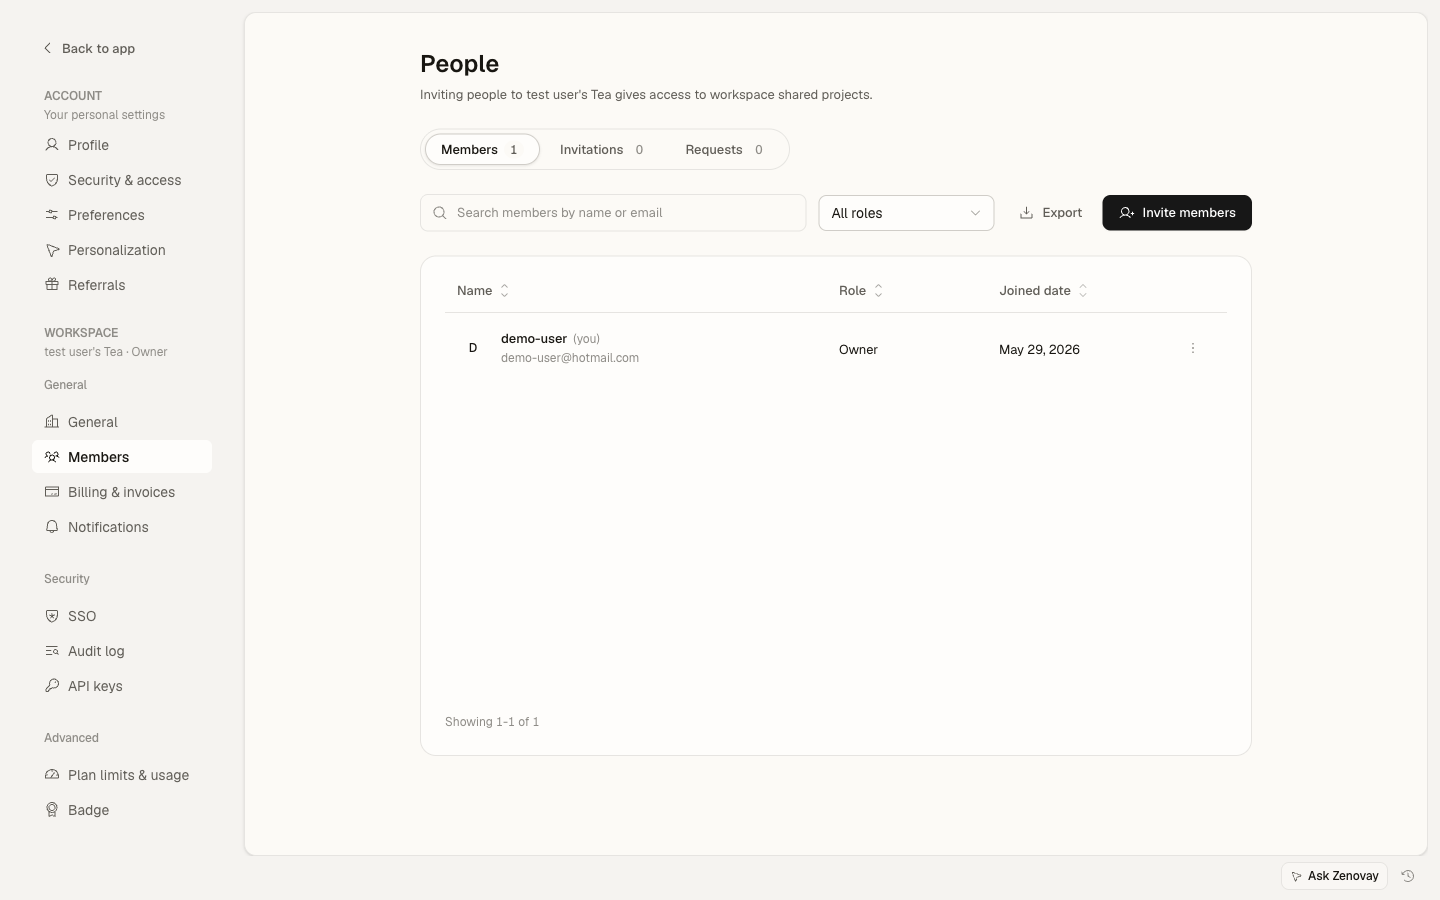
Open Members
Go to Settings → Workspace → Members in your dashboard.
Click Invite
Click the Invite button to open the invitation form.
Enter Email Address
Enter your colleague's email address. They don't need an existing Zenovay account.
Select Role
Choose the role to assign:
- Admin: Can manage websites, team members, and settings
- Editor: Can manage websites and settings, and view analytics
- Viewer: Read-only access to view websites and analytics
Send Invitation
Click to send. They'll receive an email with a link to join.
Invitations expire after 7 days. You can resend or revoke them from the Invitations tab on the Members page.
Understanding Roles
Team members have one of four roles. Roles apply across the whole workspace, not to individual websites.
Owner
The team creator, with full control:
- Manage billing and subscription
- Delete the team
- Transfer ownership
- All admin capabilities
A team can have more than one Owner if ownership is shared. Promote or transfer ownership carefully, since Owners have unrestricted access.
Admin
Full operational control:
- Add and remove team members
- Create and delete websites
- Modify all settings
- View all analytics
- Cannot access billing or ownership
Editor
Can modify configurations:
- Create and edit goals
- Modify website settings
- View all analytics
- Cannot manage team members
Viewer
Read-only access:
- View analytics dashboards
- Cannot modify any settings
Managing Invitations
Viewing Pending Invitations
Open Settings → Workspace → Members and switch to the Invitations tab to see everyone you've invited who hasn't joined yet.
Resending an Invitation
- Find the pending invitation
- Click the Resend button
- A new email is sent to the invitee
Revoking an Invitation
- Find the pending invitation
- Click the Revoke button
- The invitation link becomes invalid
Accepting an Invitation
When someone invites you:
- Check your email for the invitation
- Click the link in the email
- Create a Zenovay account (if you don't have one) or log in
- You're added to the team automatically
If you already have a Zenovay account, you'll be added to the team using your existing account.
Changing Member Roles
To modify a team member's role:
Go to Members
Navigate to Settings → Workspace → Members.
Find the Member
Locate the team member in the list.
Change Their Role
Use the role control on their row to pick a new role.
Save Changes
Confirm to apply the change.
Owners can change any role. Admins can change Editors and Viewers, but not Owners or other Admins.
Removing Team Members
To remove someone from your team:
- Go to Settings → Workspace → Members
- Find the team member
- Click Remove
- Confirm the removal
Removed members immediately lose access. They'll need a new invitation to rejoin.
Best Practices
Security Recommendations
- Use appropriate roles: Don't grant Admin access unnecessarily
- Review regularly: Audit who has access on a regular cadence
- Remove promptly: Remove access when someone leaves
- Encourage MFA: Ask team members to enable two-factor authentication on their accounts
Organizational Tips
- Use work email addresses so it's clear who each member is
- Document access levels: Note why each person has their role
- Onboarding process: Have a standard process for new team members
Troubleshooting
Invitation Not Received
- Check spam/junk folders
- Verify the email address is correct
- Ask the recipient to check with IT (corporate filters)
- Resend the invitation
Cannot Accept Invitation
- Make sure you're using the link from the correct email address
- Clear browser cache and try again
- Try a different browser
- Check whether the invitation has expired (7 days)
Cannot Change Role
- Only Owners can change any role; Admins can only change Editors and Viewers
- You cannot change your own role
- Contact an account Owner for help
Single Sign-On
Scale PlanOn the Scale and Enterprise plans, you can connect an identity provider so members sign in through your organization's SSO. See your security settings to configure it.